Job Costing for Small Contractors: How to Know a Job Is Profitable Before It's Finished
A plain-English guide to job costing for small contractors: what to track, how to compare estimated vs. actual cost, and how to catch overruns while you can still fix them.
 By Timbersite team · · 4 min read
On this page
On this page
Ask most small contractors whether their last job made money and you’ll get one of two answers: “I think so,” or “I’ll know when the accountant tells me.”
Both answers mean the same thing. By the time you know, it’s too late to do anything about it.
Job costing fixes that. It sounds like accounting, but it’s really just answering one question, on every job, while the job is still running: are we spending what we said we would?
What job costing actually is
Job costing means tracking every cost against the job it belongs to, and comparing it with what you estimated.
You need two numbers for each part of the job:
-
Estimated cost: what you planned to spend when you priced it
-
Actual cost: what you’ve really spent so far
The difference between them is the variance. Positive variance means you’re under budget. Negative variance means you’re over.
Do that across the whole job and you know your real margin, not the one you hoped for when you sent the estimate.
The four cost categories to track
Most residential and light commercial jobs break down into four buckets:
-
Labor: your own crew’s hours, multiplied by their pay rate
-
Materials: lumber, drywall, fixtures, fasteners, dumpsters
-
Subcontractors: electricians, plumbers, HVAC, anyone you hire out
-
Selections: customer-chosen finishes like tile, cabinets and lighting
Tracking these separately matters. A job can be on budget overall while labor is badly over and materials are under. Without the breakdown, you’d never know your labor estimates need fixing.
Revenue: don’t forget change orders
Your revenue on a job isn’t just the original estimate. It’s the approved estimate plus every approved change order.
This is where a lot of small contractors lose money without realizing it. Extra work gets agreed verbally on site, never written up, and never billed. Your costs go up, your revenue doesn’t, and the margin disappears.
If every change order is written down and signed, your revenue number stays honest.
How to do it: a simple process
Step 1: Build your estimate with line items and cost types.
Every line in your estimate should say whether it’s labor, materials, subcontractor or a selection. Give each one a cost code if you use them.
Step 2: Record costs against those same line items.
When a receipt comes in, it goes against a specific line item. When the crew clocks in, their hours go against a specific line item. This is the step most contractors skip, and it’s the one that makes everything else work.
Step 3: Only count approved hours.
Review timesheets before they count toward cost. Unchecked hours make your numbers look worse (or better) than they are.
Step 4: Check in weekly, not at closeout.
Look at estimated vs. actual for each category every week. If framing labor is already 80% spent and framing is half done, you know now, while you can still do something about it.
Step 5: Feed what you learn back into the next estimate.
If drywall labor runs 15% over on three jobs in a row, your drywall labor estimate is wrong. Fix it.
Why spreadsheets break down
You can do all of this in a spreadsheet. Plenty of contractors start that way. It tends to break down once you have:
-
More than two or three active jobs
-
A crew larger than a handful of people
-
Receipts and hours coming from several people in the field
At that point the spreadsheet is only as current as the last time someone updated it, and that’s usually the end of the month.
How Timbersite handles it
Timbersite is built around one flow: Customer → Project → Estimate → Schedule → Actuals → Reports. Every step uses the same line items, so costs carry through automatically.
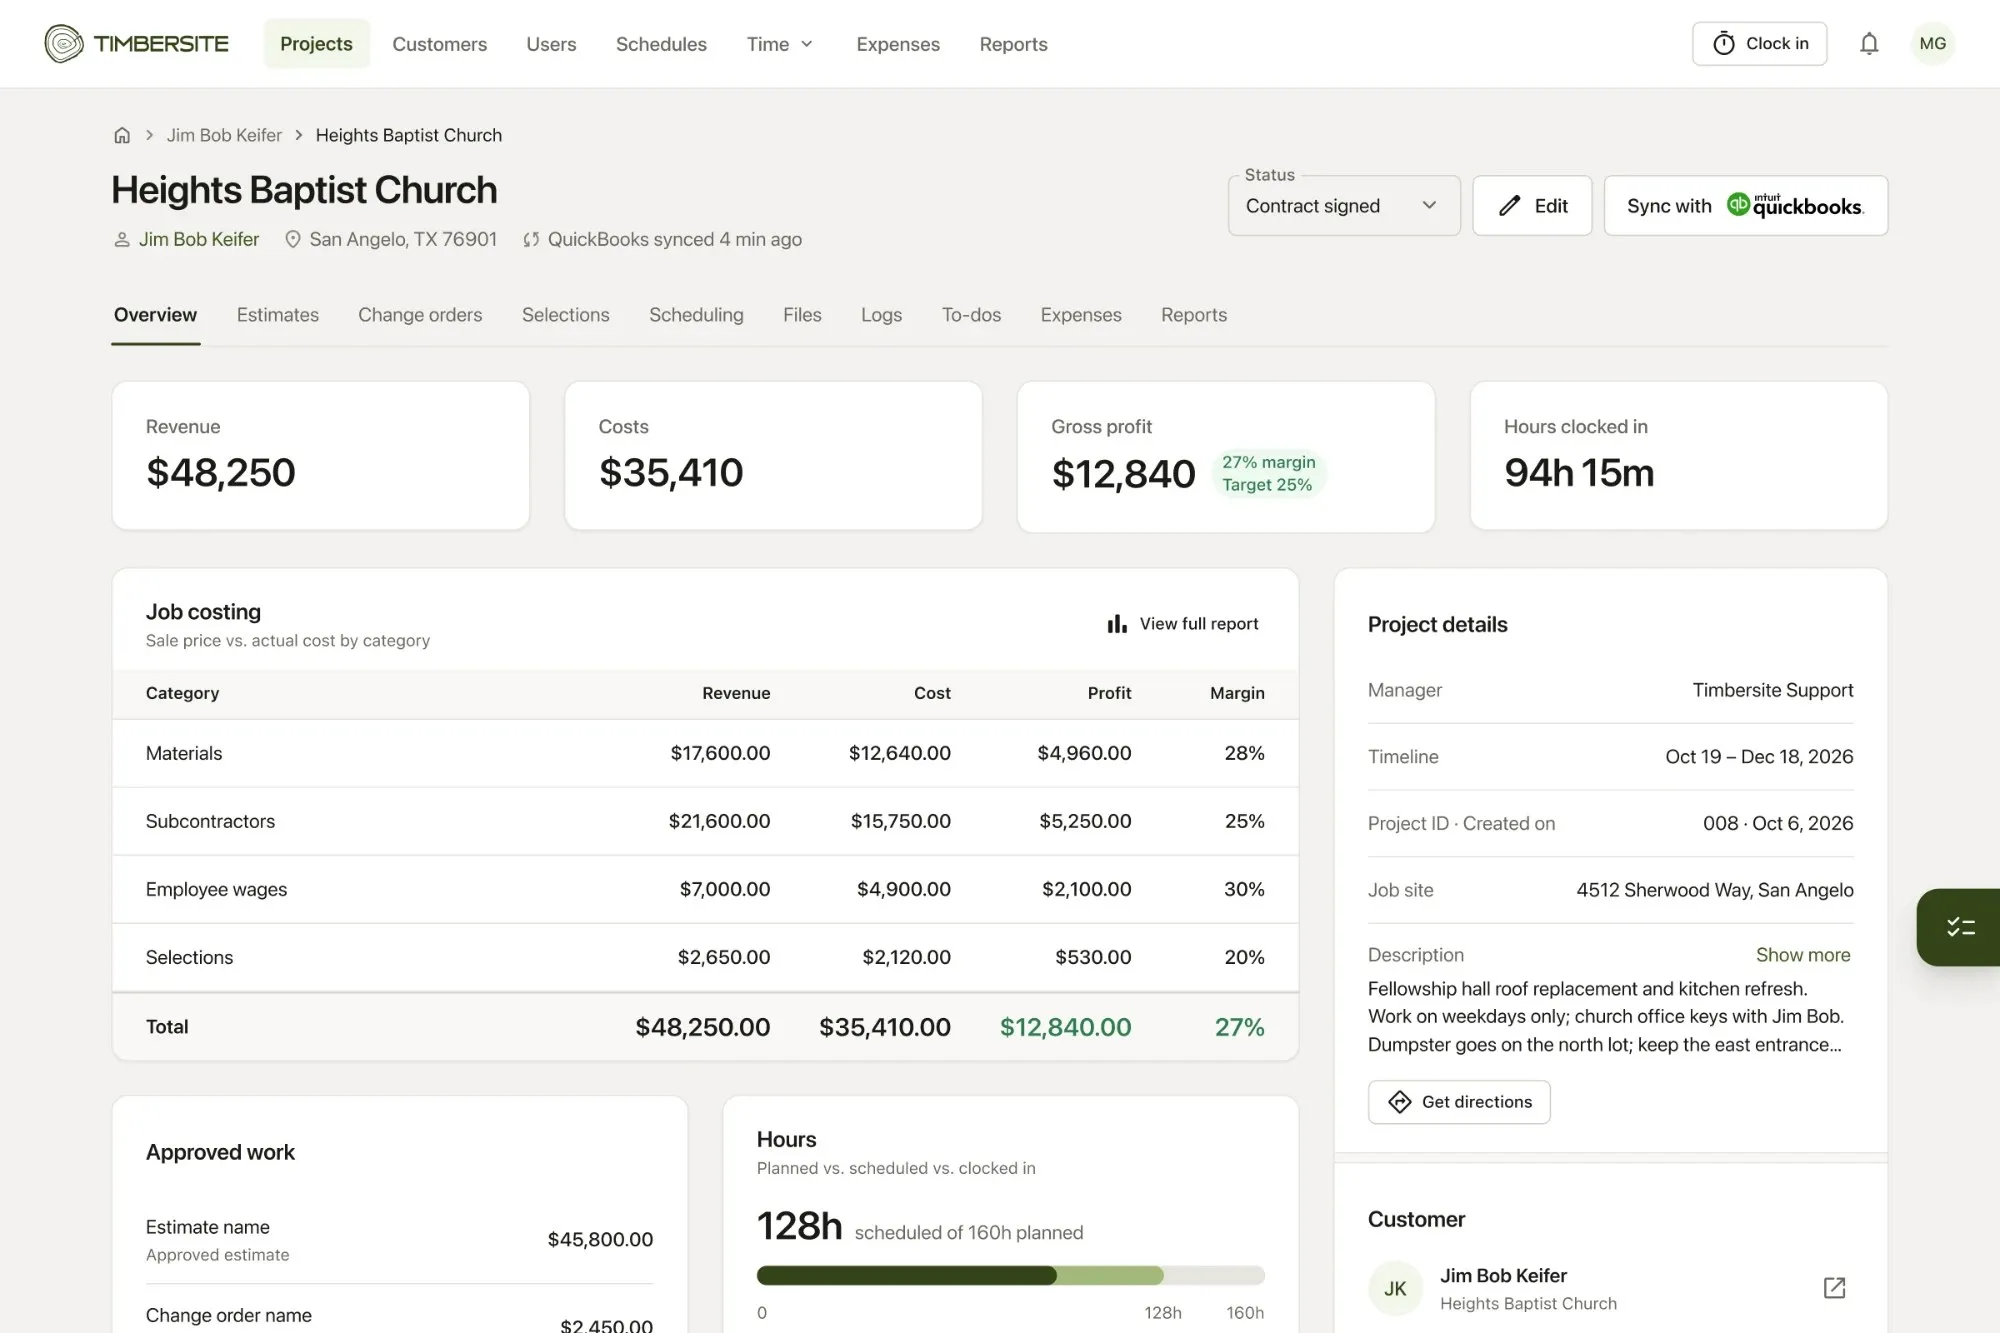
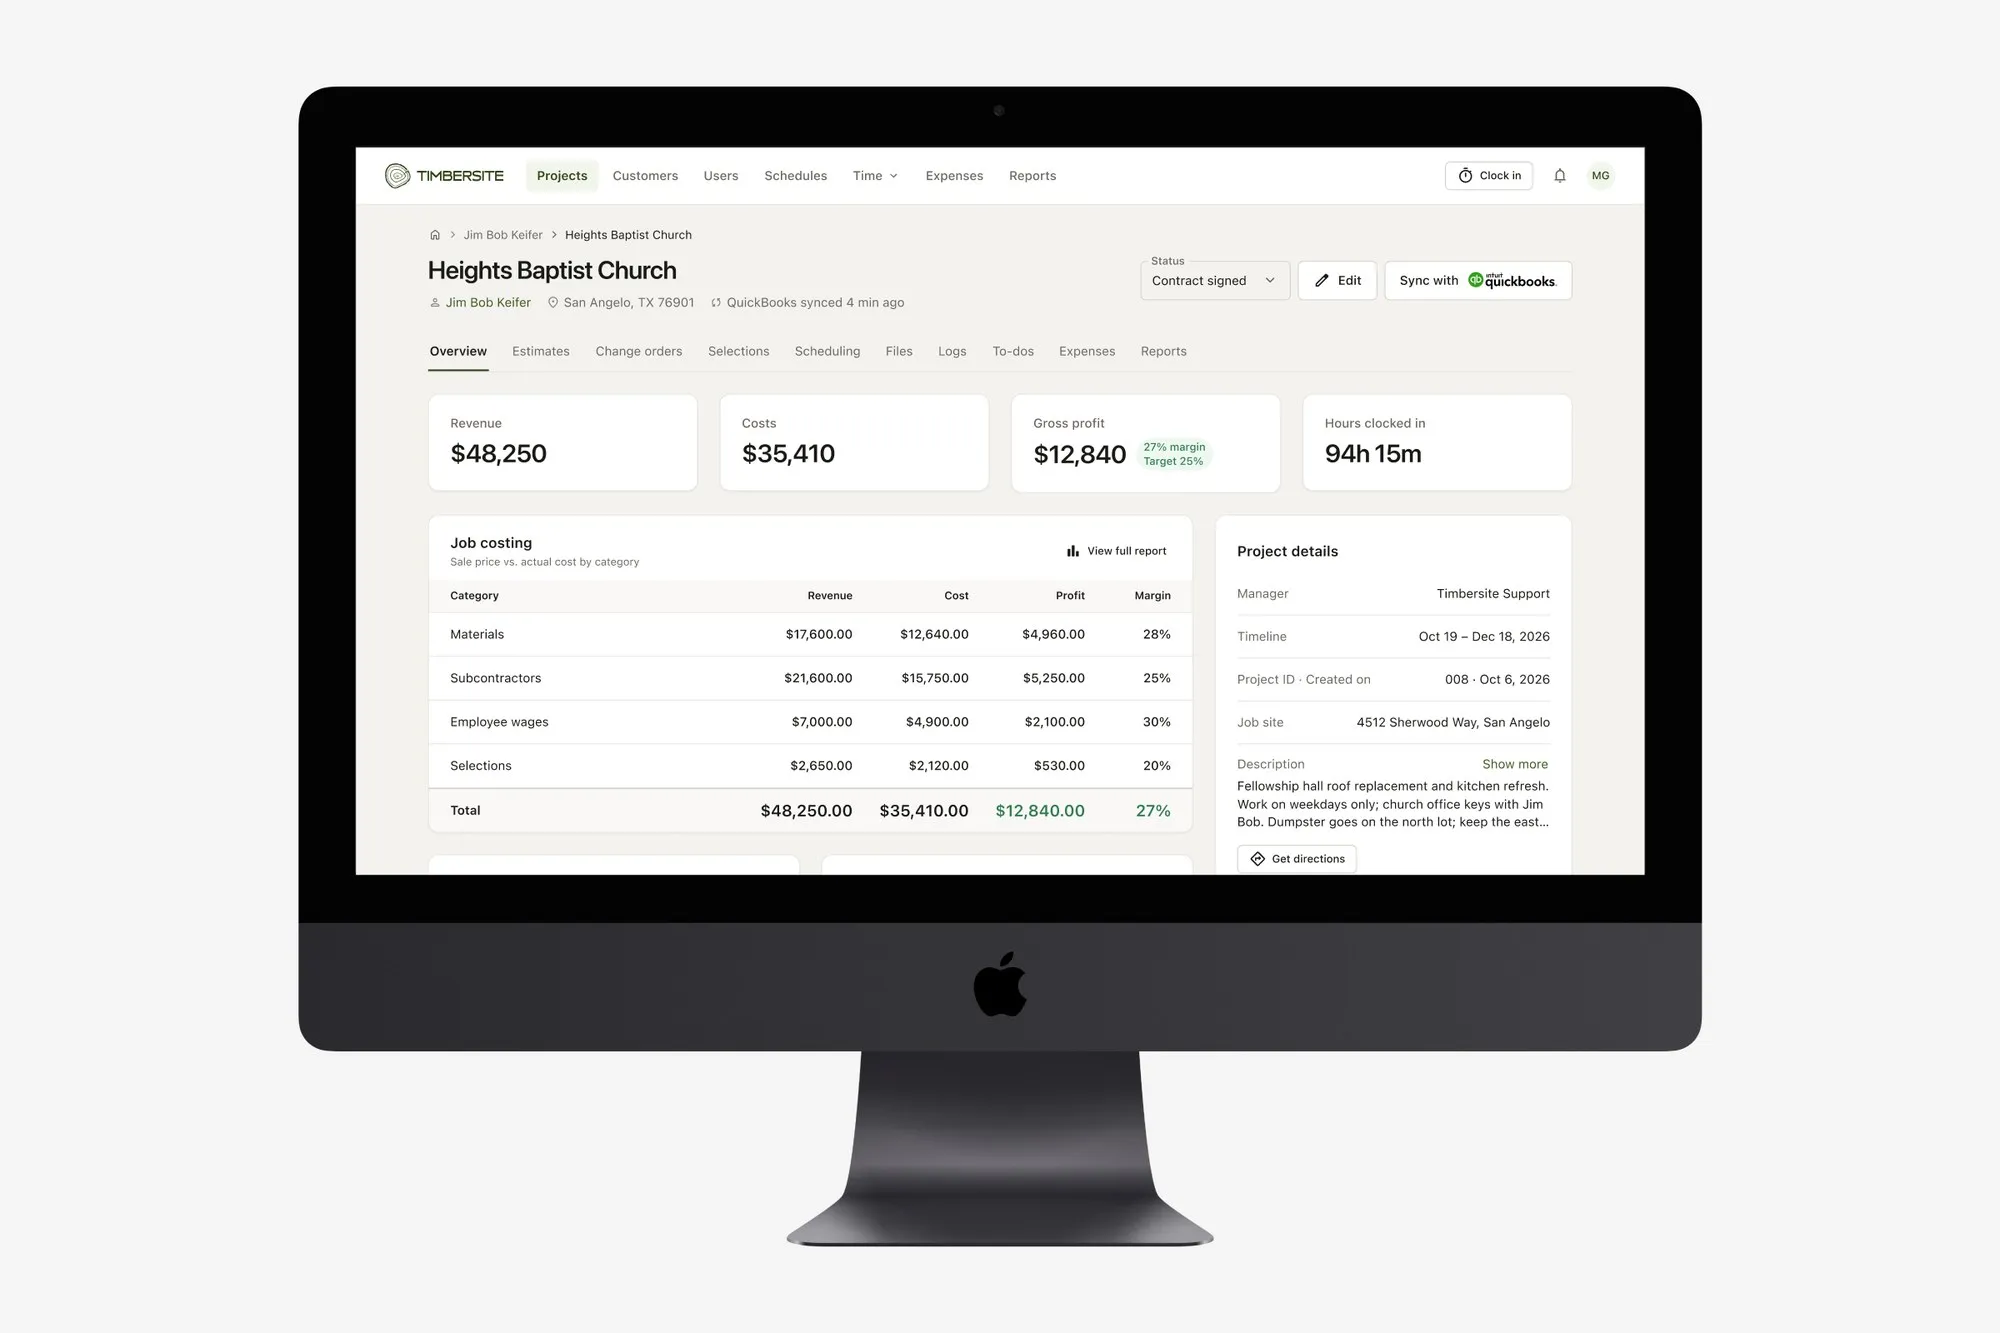
On every project, the overview shows revenue, costs, gross profit and margin against your target, plus hours clocked in. A job costing table breaks it down by materials, subcontractors, employee wages and selections.
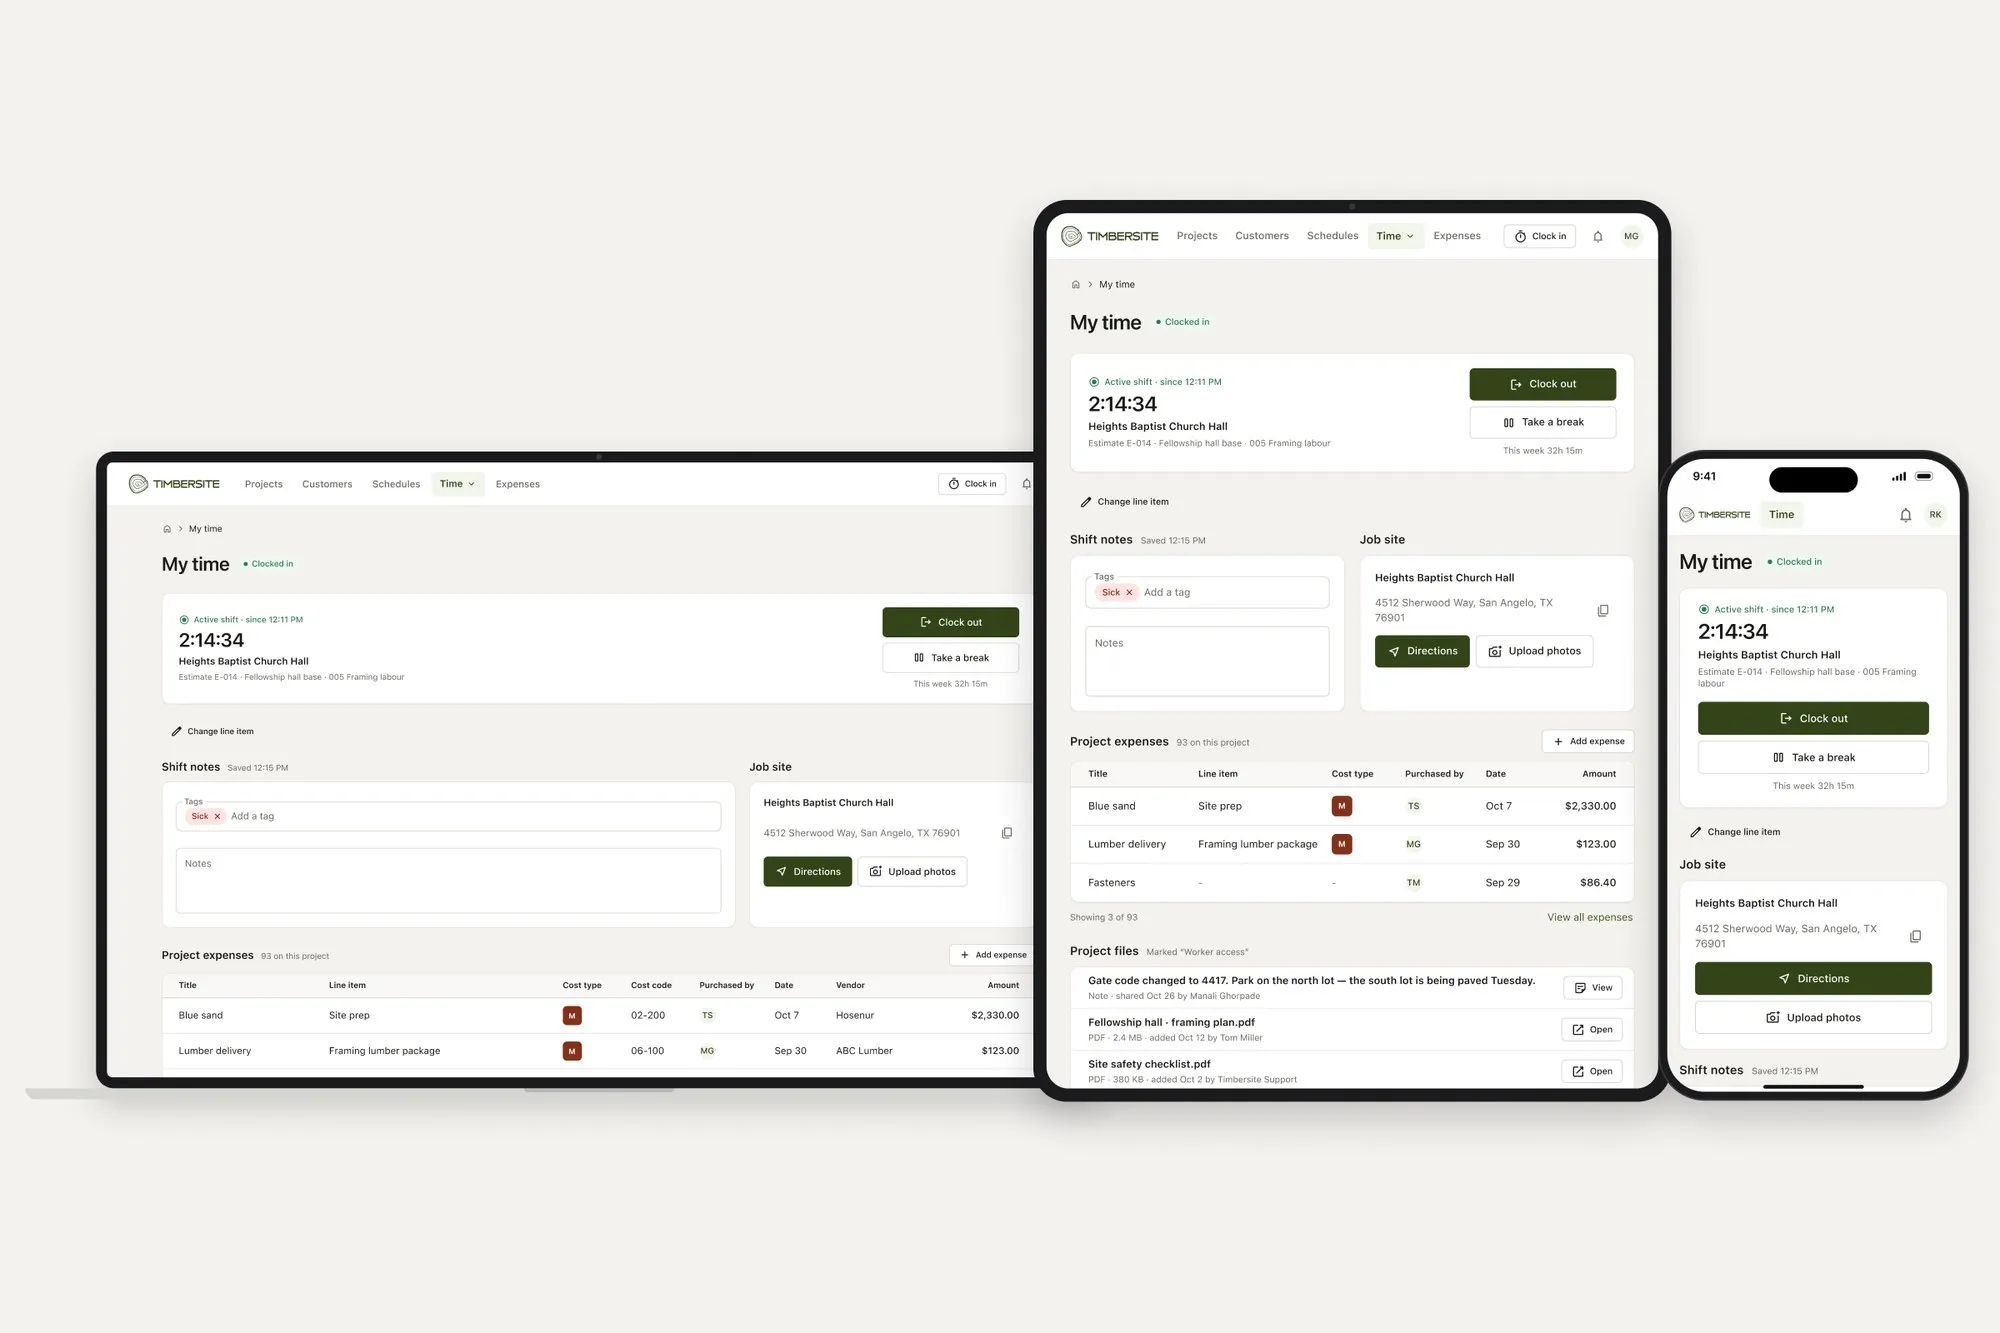
Crew hours come from on-site clock-ins tied to line items, and only count once approved. Expenses are logged against line items from the field, with receipts. Expenses that aren’t linked to a line item still count toward actual cost, and are shown separately so nothing hides.
Project reports compare estimated cost with actual cost, variance and profit for job cost, materials, labor, subcontractors and selections. If gross profit drops below zero, it’s highlighted in red.
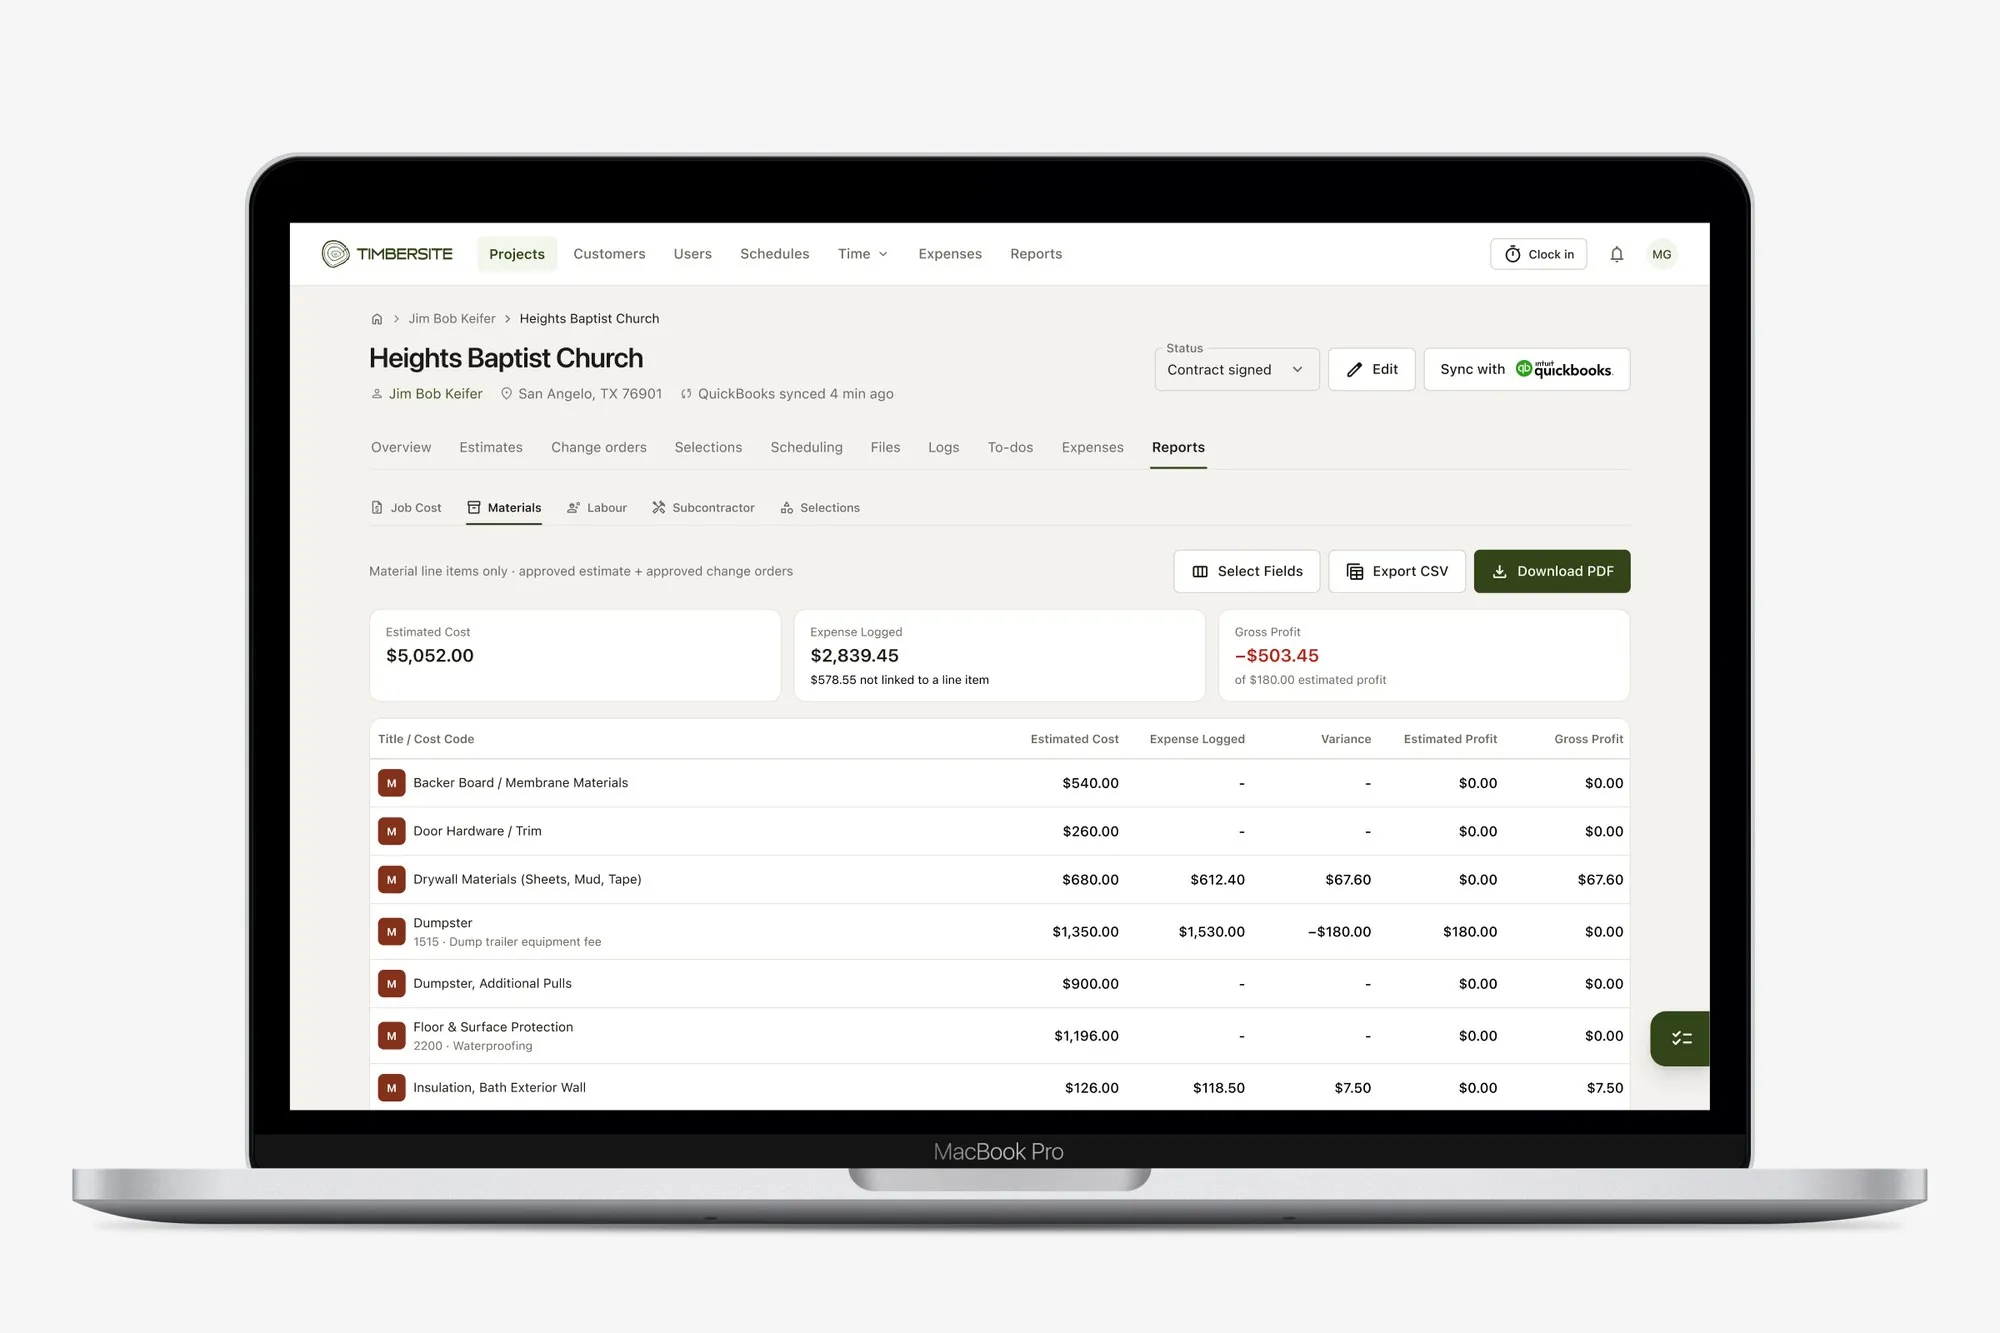
A materials report comparing estimated with actual cost for each line item.
The result: you know whether a job is making money while it’s still running, not after.
Start with your next job
Pick your next job and track it properly from estimate to closeout. Even one fully costed job will tell you more about your business than a year of guessing.
Timbersite has a 14-day free trial with every feature included and no credit card required.